From Sketch to Surface Pattern : Ditsy Florals
Ditsy floral patterns will never go out of style. Designing them, however, can feel overwhelming due to how many floral elements are usually included. Here is a bit of a behind-the scenes look at how I tackle this type of surface pattern design.
I won’t go in to surface pattern design basics, but instead an overview of my personal process.
How I Design a Ditsy Floral Surface Pattern
STEP ONE: The first step is to determine a color palette. It’s not as easy as it sounds, and I’ll frequently change colors or add new ones as I’m creating the pattern. To give you a general idea I like to start with about 7-10 colors.

STEP TWO: The blobs. It sounds weird, but they really help structure the shape and layout of the illustrations. I randomly sketch out shapes and this will be the template I’ll use for my design.
STEP THREE: I loosely sketch out individual floral elements within the confines of the blob template I just created. These aren’t set in stone, and I’ll move them around a bit usually.


STEP FOUR: I start painting in the floral (and in this case berries as well) illustrations. I make sure that I keep each color on a separate layer to make it easier to change colors out in the future, or to use the same design with a completely new color palette.
TIMELAPSE VIDEO OF MY DESIGN PROCESS
STEP FIVE: The final step after testing is usually to play around with different color options.

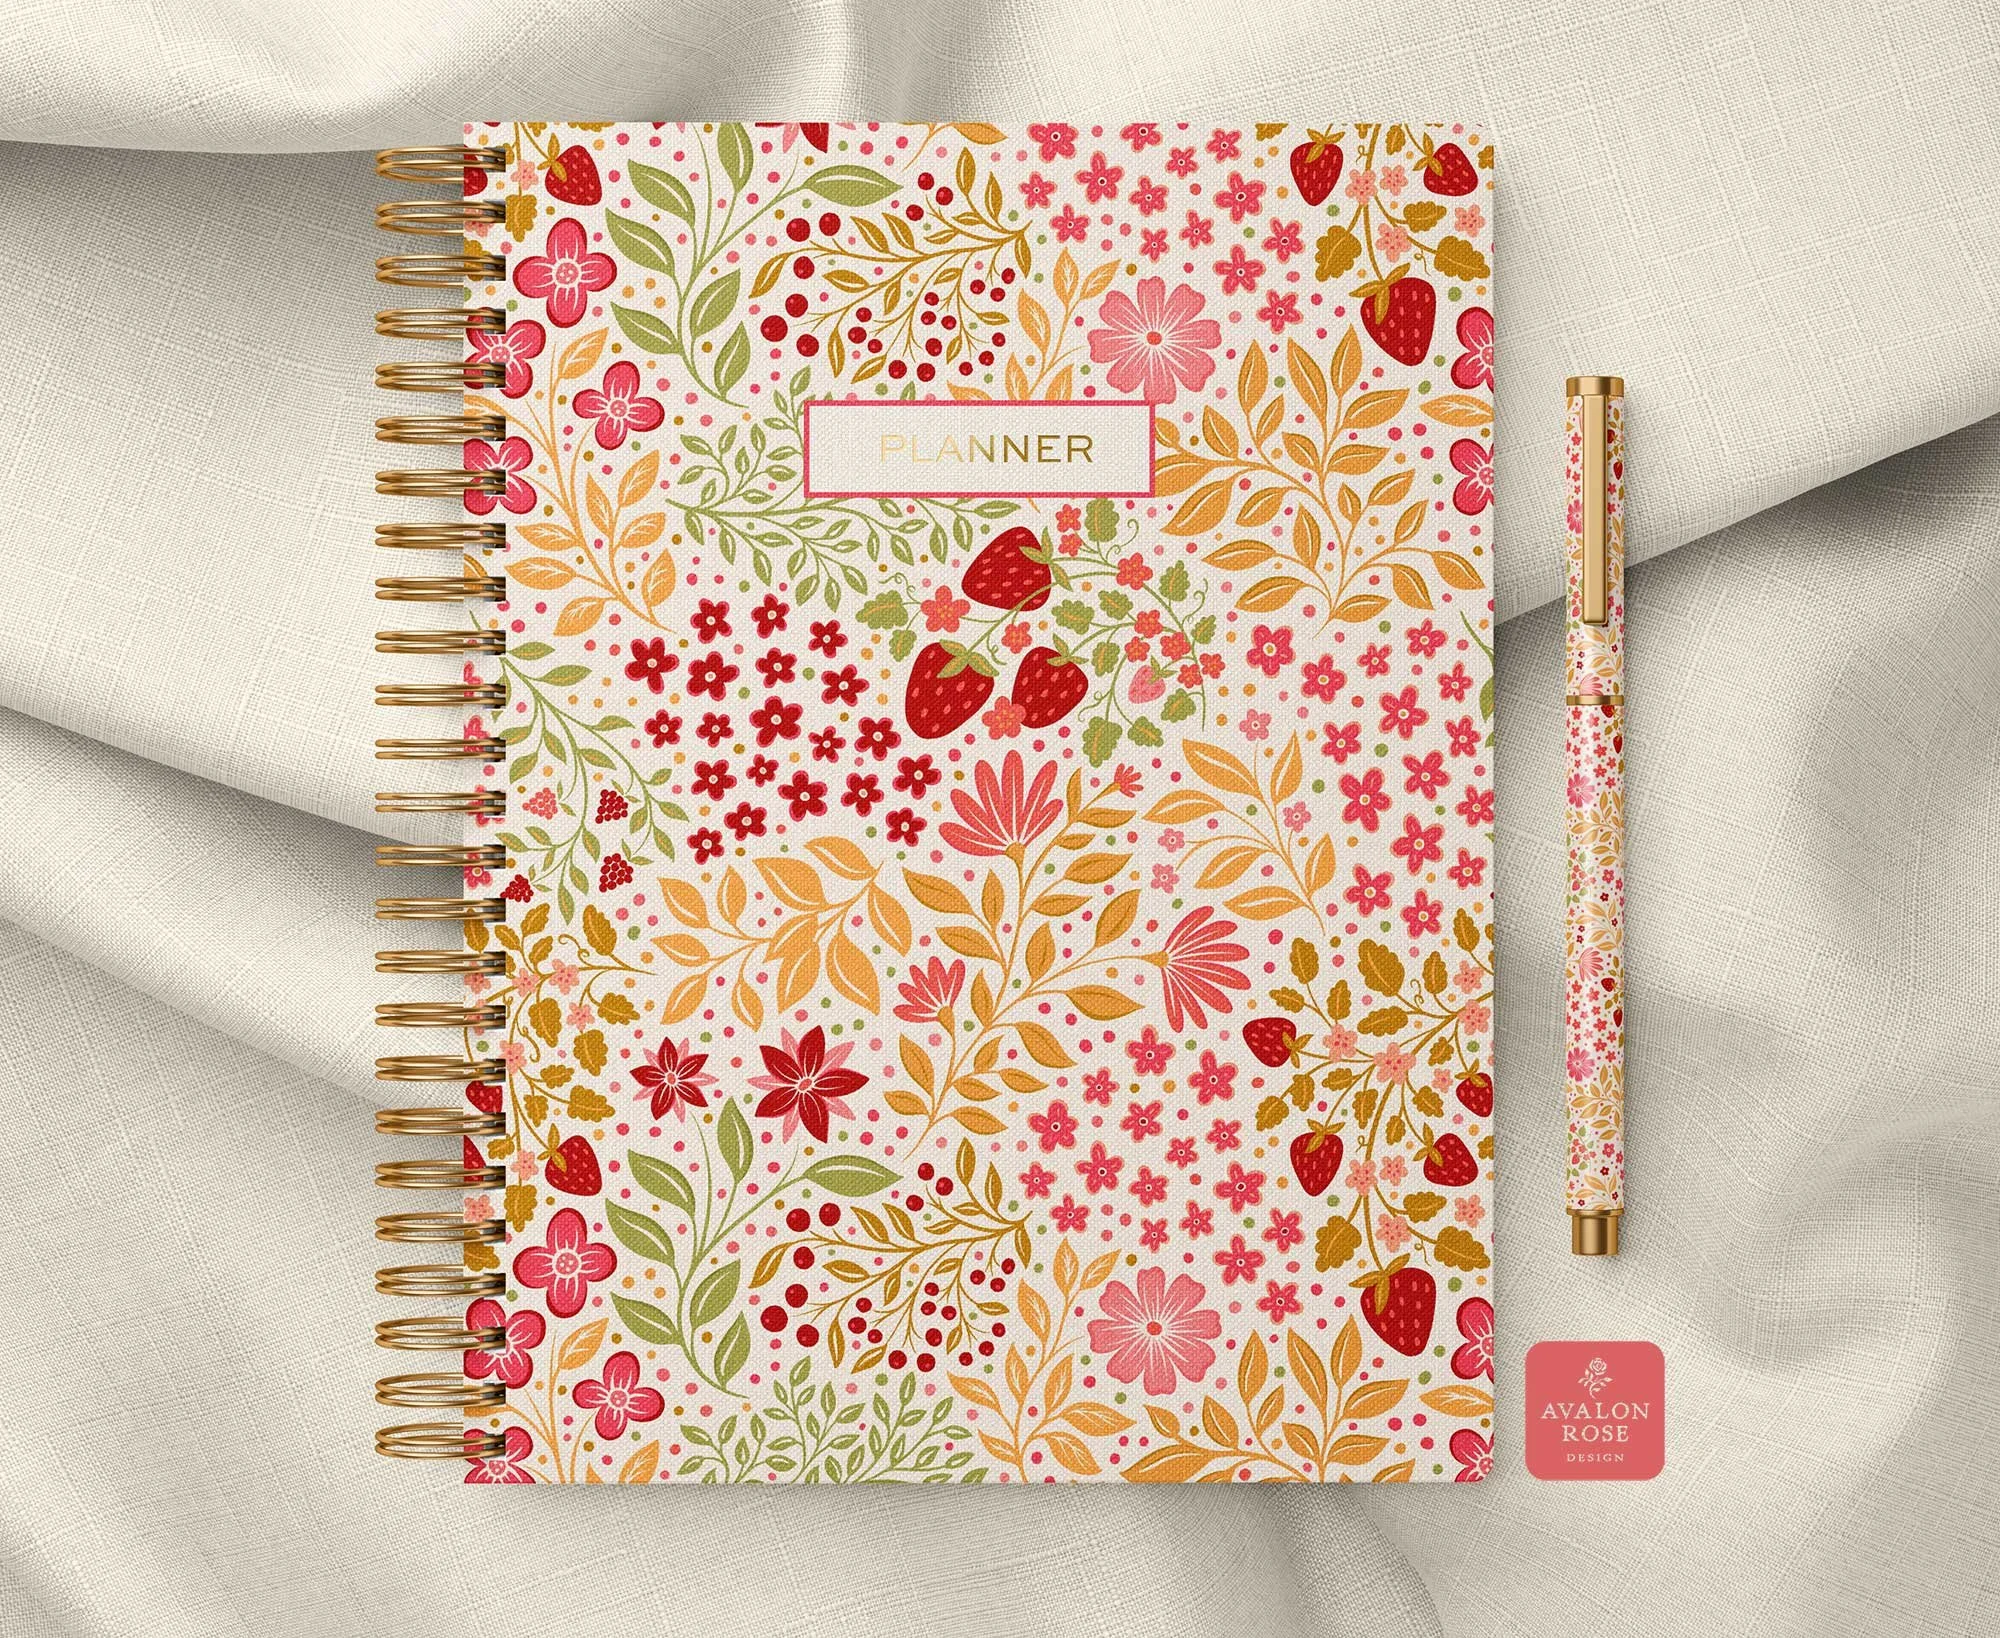
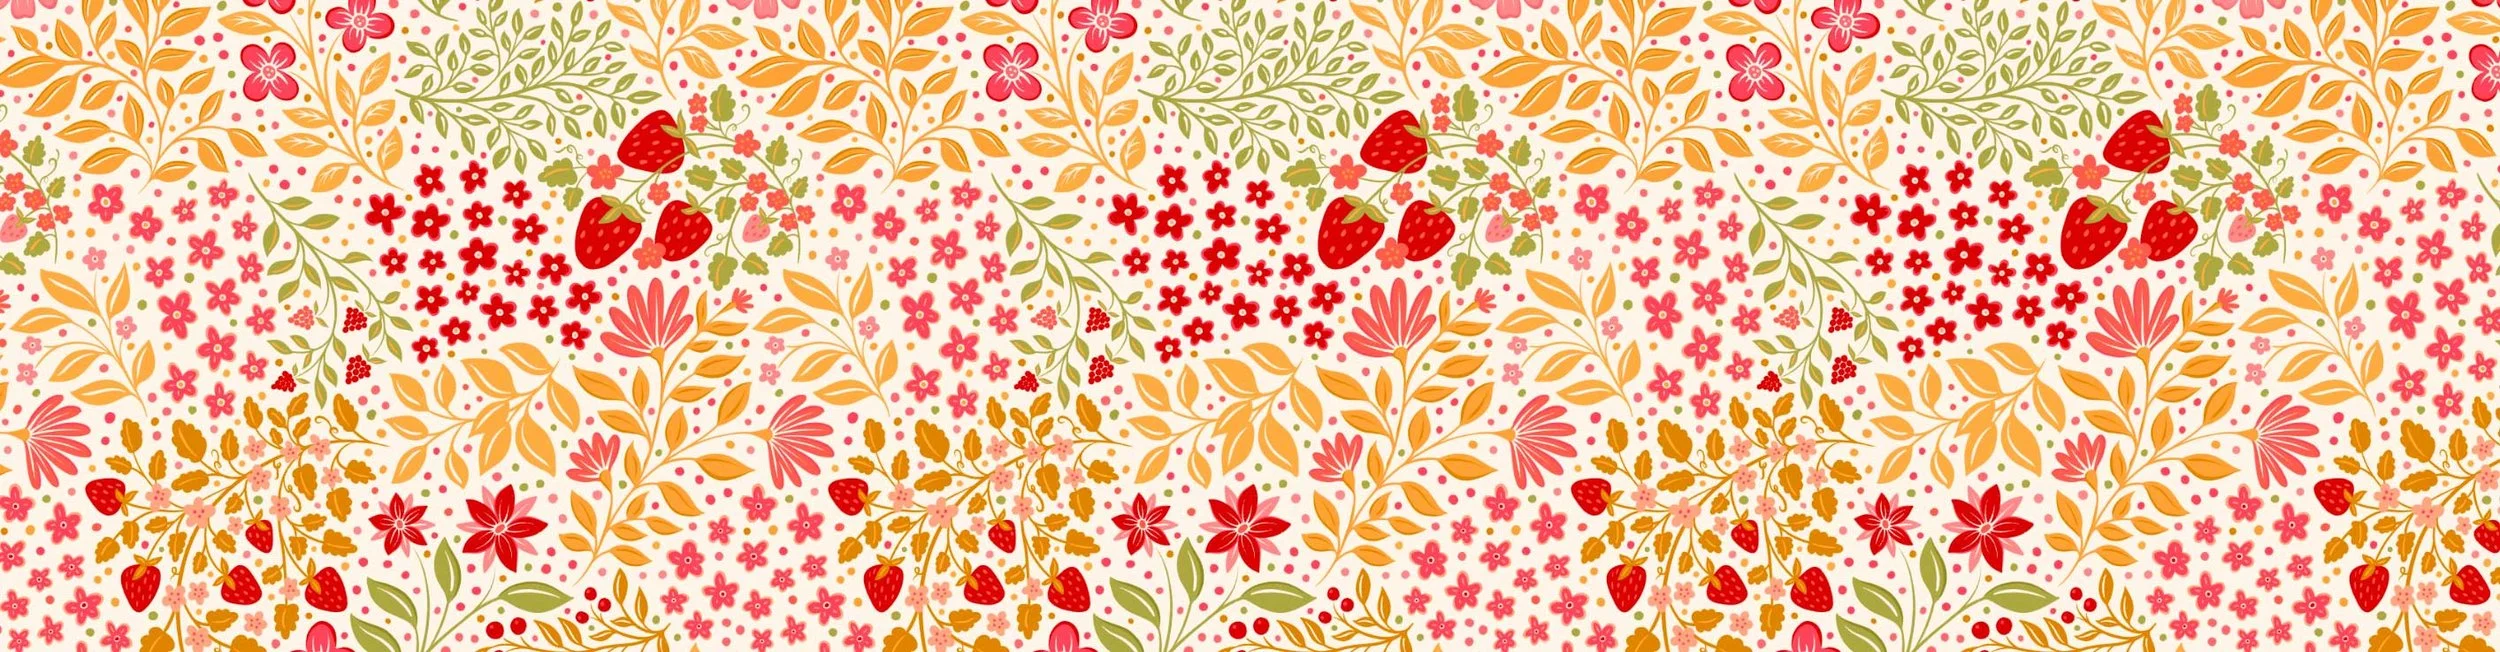
Final Result
A finished surface pattern that can be commercially licensed, sold as a digital product, and/or printed on fabric or other POD products.